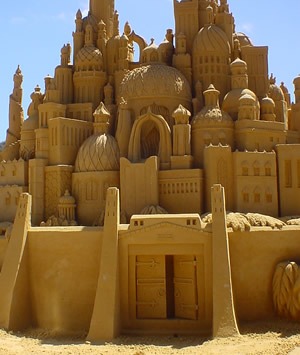
Making sand castles is a fun activity to do at the beach, but it’s hard to build a sand castles using your hands alone. If you want to make a work of art using sand, you need tools, and you also need strategy and creativity.
Tips for Sand Sculpting
Here’s some tips to keep in mind when building a sandcastle:
1. Know your sand
Sand is the most important thing needed to build a sandcastle (obviously). The most common types of sand used are beach sand and quarry sand. Beach sand usually consists of smaller granules with smooth edges because of ocean tides. Usually, beaches don’t contain a lot of silt – a loose sedimentary material mixed with the sand. But the more silt the beach has, the more sturdy sandcastles become. Beaches near estuaries can give you a sturdy sandcastle.
2. Wet the sand
The sand must be wet through and through if you want to hold its shape. But the wet sand is near the waves, which can bring your sand sculpture to fall down. The best thing to do is to get a bucket and use it to harvest beach water and wet the sand on the area where you plan to build something.
3. Pack the sand
Pack the sand tightly so it will hold together better. You can smack it, hit it, strike it, pound it, beat it – you get the idea.
4. Work from the top down, inside out
When working on a sand castle or sculpture, take it from the top and work from the top down. You don’t want to go back up to re-work and clean the completed sections again. This same thing works with the details closer to the center. Don’t make an outer wall first before designing the insides.
5. Be patient
If you want to make a perfect sand sculpture, you have to be patient. Patience is also especially important when you’re learning. Sand is actually trickier to sculpt than clay, because it’s more difficult to replace sand on the initial pile when it’s gone. Also, you have to make several passes to remove sand to perfectly reach the detail on the sculpture that you want. Remember, it’s supposed to be a fun activity, so don’t get frustrated.
Tools for Sand Sculpting
Buckets and shovels may be enough for a person who only wants to experiment at the beach, but if you want to be serious about this art, you need more than that. Also, sandcastle competitions in some beaches can give lucrative prizes, and to make sandcastles worth a lot of money, you have to use custom tools. Here’s what a pro sand sculpting toolkit contains:
1. Bucket
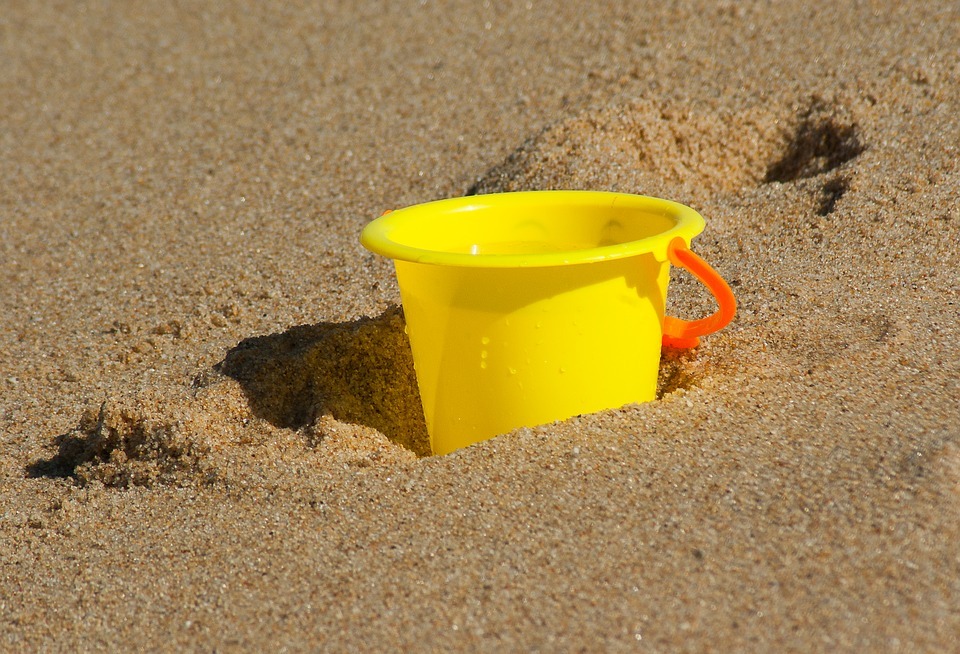
As mentioned earlier, the secret to a good sand sculpture is wet, packed sand. Sand on a good location doesn’t start out wet, so you need large buckets to gather water from the source and keep it with you on your construction site. Because of this, you need to be fit to make a serious sand sculpture. One sculpture may require lots of trips to the waters and back.
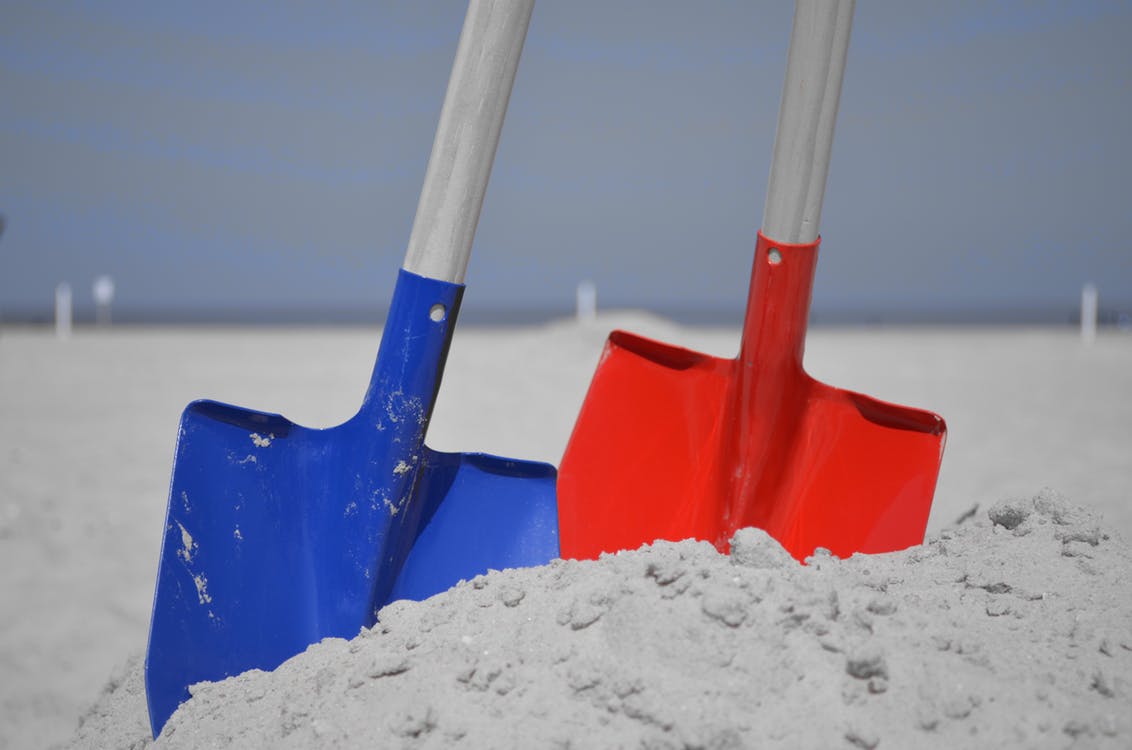
2. Barn and coal shovels
Barn and coal shovels are mainly used for moving sand into your construction area, to make them ready for packing. The shovels are big, so they can transport large amounts of sand to and fro.
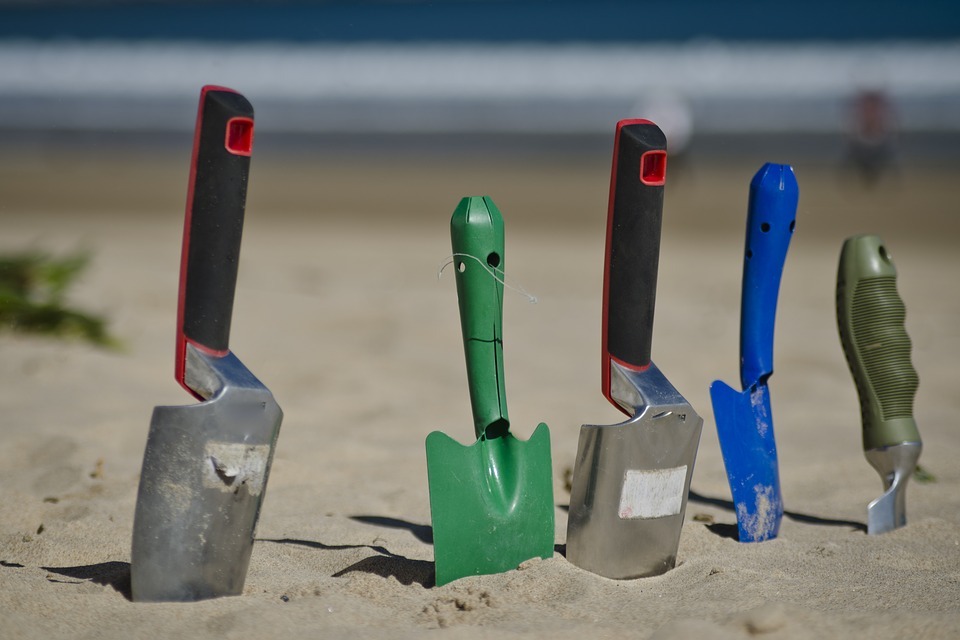
3. Garden shovel
The garden shovel takes a lead role in carving out shapes in your sculpture. Builders carve out more complex shapes in their sculpture with the shovel.
4. Safety gloves
When making a major sand sculpture, you’re going to be working on it for hours. In a competition, every second matters, so you can’t afford to slow down. Using safety gloves can protect your hands from blistering.
5. Custom-made wood forms
Custom-made wood forms trap the sand to compact it and press it together. They also double as scaffolding, when they want to create higher sculptures. Wood forms, usually made of plywood, are cut according to the design you planned.
6. Hand tamper or jumping jack tamper
When making a construction made of concrete, builders use a hand tamper or a gas-powered jumping jack tamper to make the concrete more compact. These same tools are also used to build a large sand sculpture to pack the sand. Keeping the grains of sand close to one another makes the sculpture more durable. Alternate between sand, water and tamper while making layers in your castles. This will result to sheerer angles and greater overhangs.
7. Leveling tool
A leveling tool can keep your structure straight and leveled in the ground. An unleveled structure will fall apart, so this can help much.
8. Trowel
Since the sun can easily dry out your wet sand, keeping a spray bottle with you can help keep it wet. When sand dries, it can make your sand sculpture deteriorate. The lack of surface tension can cause it to crumble, so you need to spray your sculptures intermittently as you build it.
9. Trowel
Expert sand sculptors rely on the trowel, whether it’s a gardening trowel, float trowel, margin trowel, tuck trowel and more. Tools are chosen according to the shape, size and crank of their handle. Trowels are used for adding little details on your sculpture.
10. Kitchen spatula
Besides the trowel, you can also use your kitchen spatula to carve out fine details from your sculpture.
11. Palette knife
The tiny palette knife is also important when building a sculpture. It can carve out crucial details that other tools may not be able to create.
12. Teaspoon
A teaspoon can be used to make hollows and bowls in the sand. It is handy when making round details for your sculpture, such as eyes of an animal.
13. Surgical tubing / straws
To create perfect structures, pros use surgical tubing or drinking straws to blow loose sand away from sculpture details. After all the sculpting you do using trowels, palette knife, spatula, etc., you need to remove loose sand to keep your creation clean-looking. Surgical tubing can blow off larger areas, since a drinking straw can only cover limited areas because of its smaller diameter.
14. Balloon pump
The balloon pump is used with surgical tubing to blow away loose sand fast, without being out of breath while doing so.
15. Paint brushes
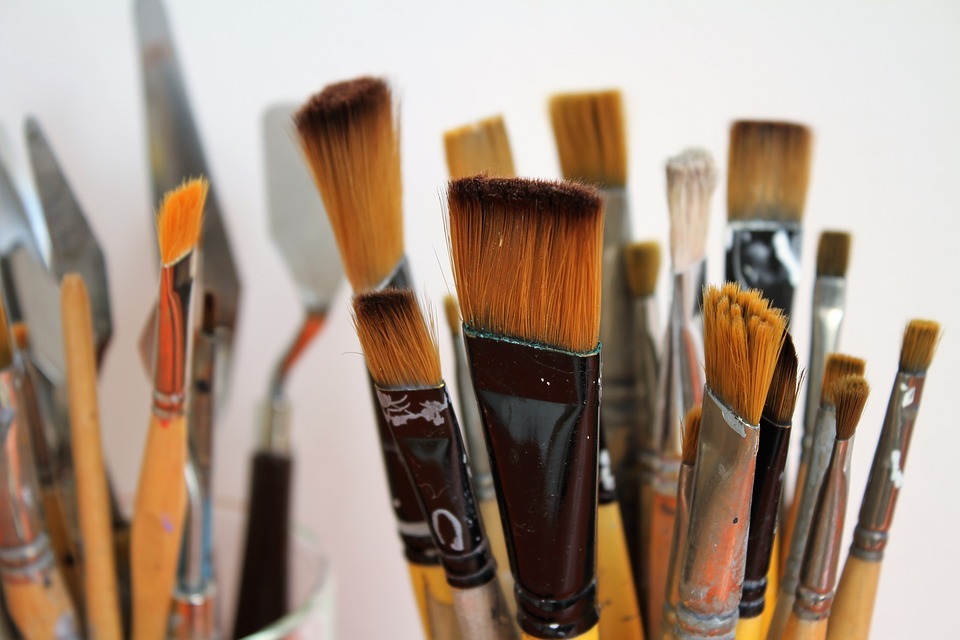
If you made a mistake in your sculpture, you can remedy it using a paintbrush. It can be used to smooth out the carving you want to get rid of, while it gathers a dusting of sand that fills up the holes.
16. Barber’s brush
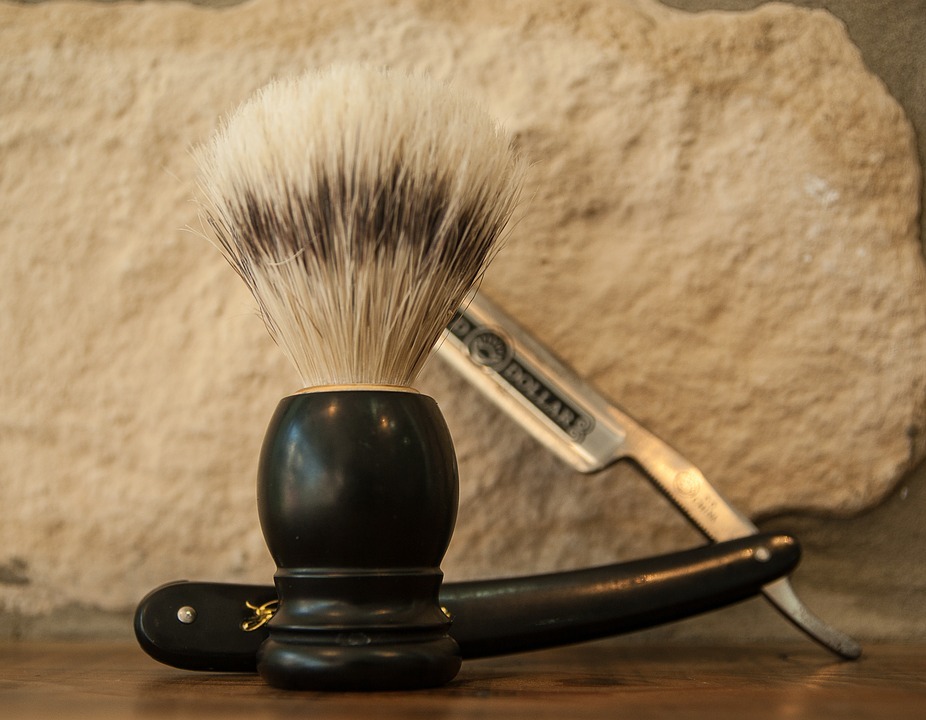
The barber’s brush is a larger alternative to paintbrushes. It removes unwanted carvings while also smoothening out larger surfaces.
17. Garden rake
You can create designs or smoothen out your sculpture using the garden rake. It’s used at the end of the construction for giving the sculpture a uniform finish.